I begin by removing about 70% of the contents from the vermiculture bin into a separate empty container. Roughly sift through the soil as you transfer it over. If there are still whole pieces of fruits, vegetables, clumped paper products, etc. put that back into the vermiculture bin (i.e. avocado shells, seeds, stems and other woody components that take much longer to breakdown).
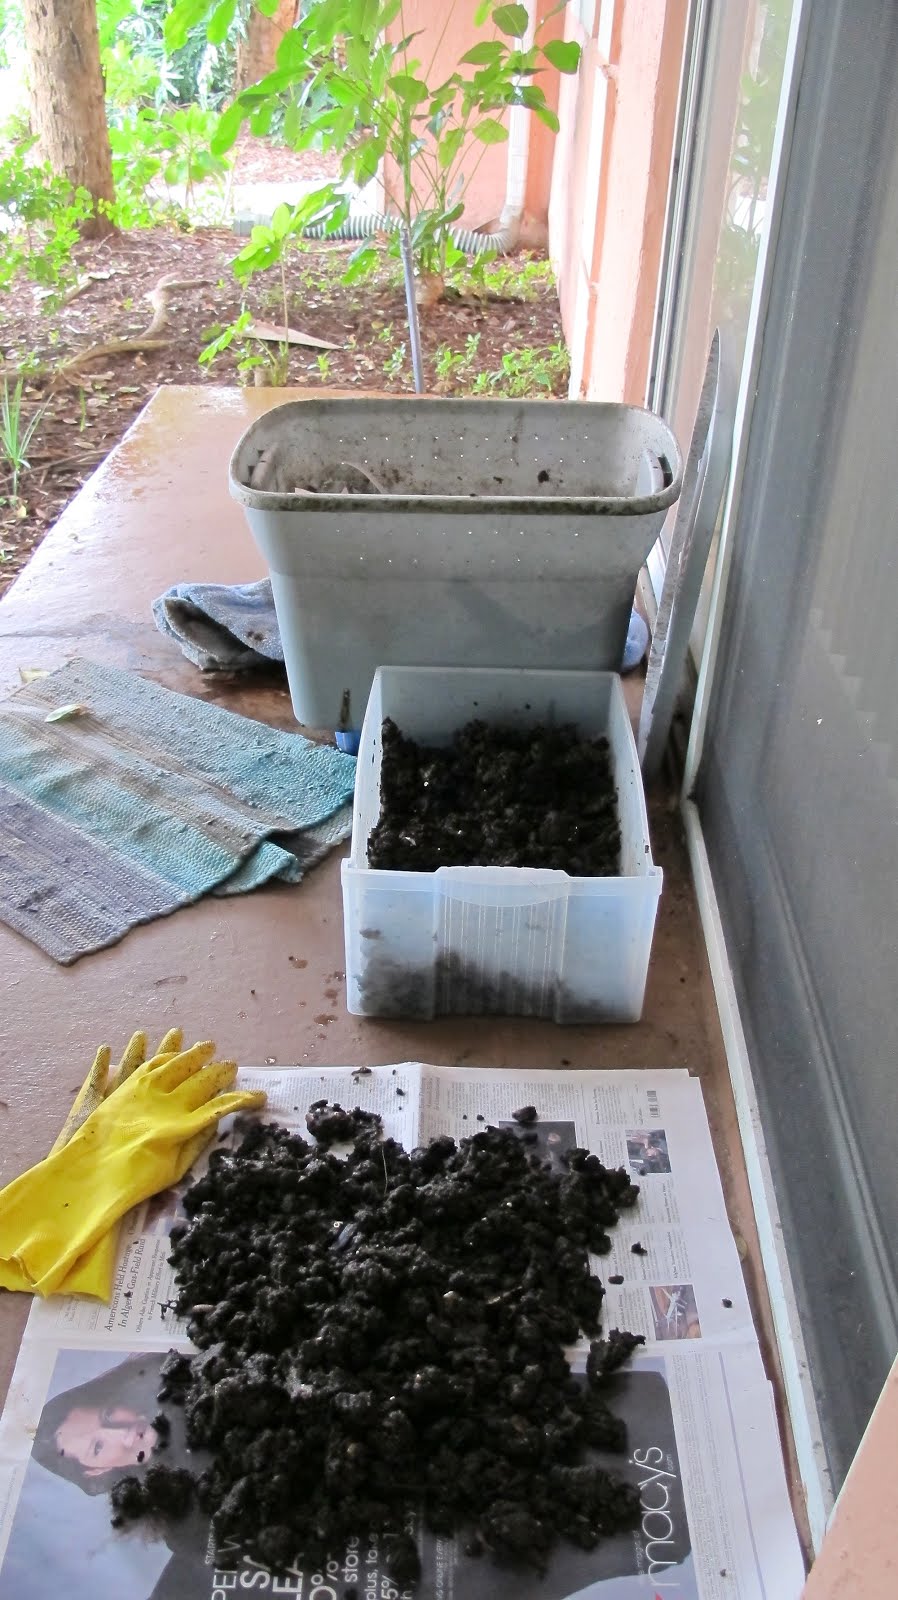
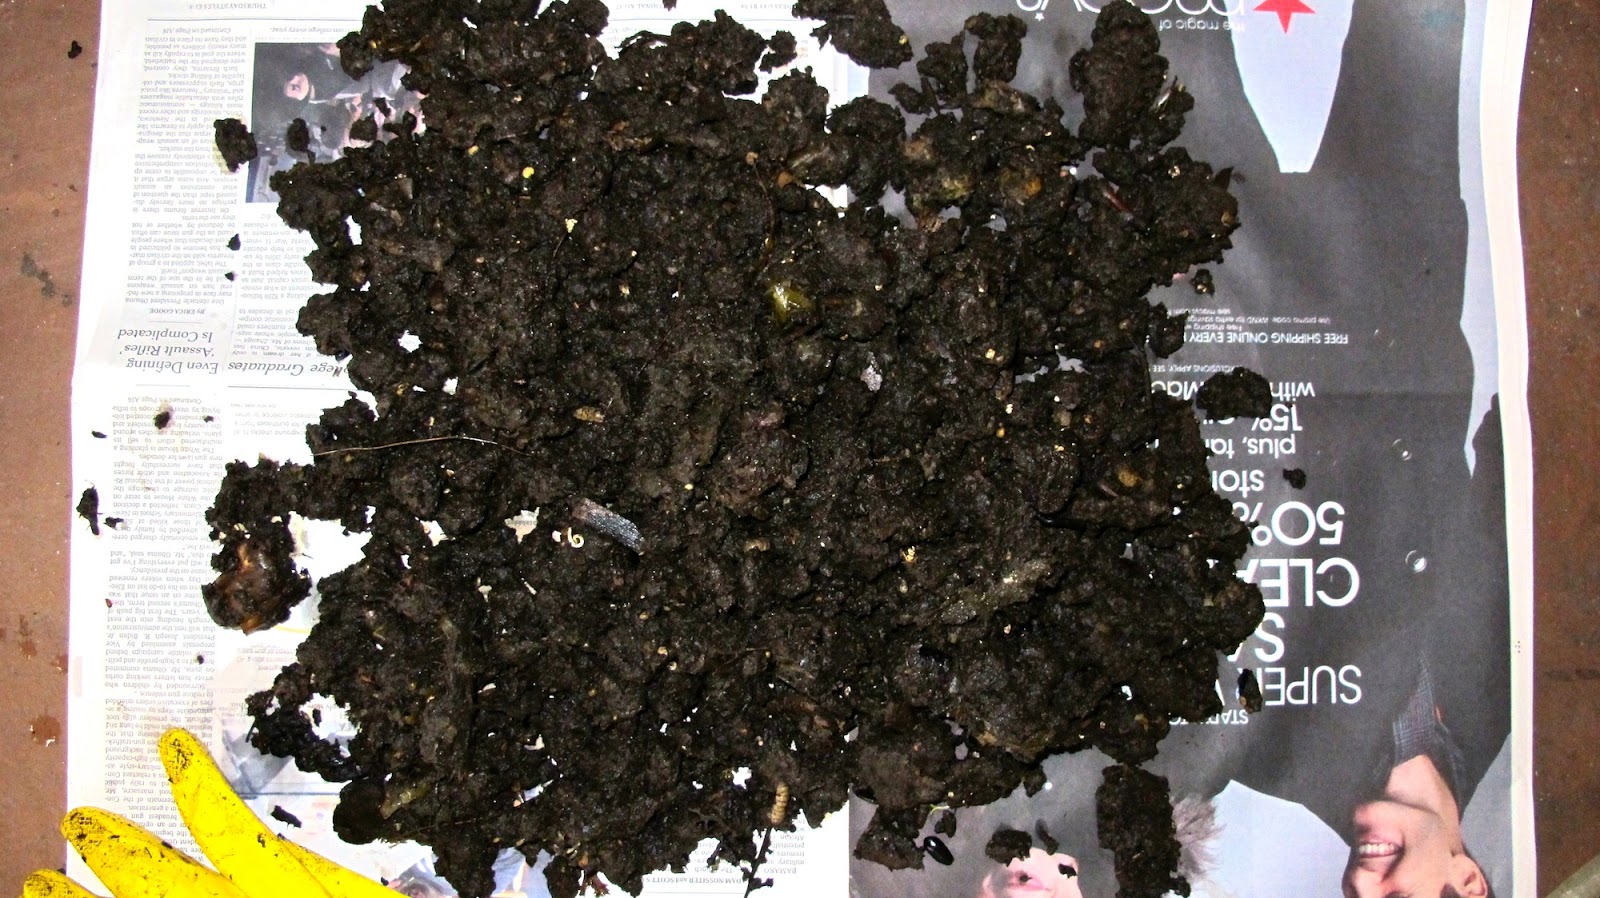
After removing 70% of the soil, I sifted through this even further removing red worms and placing them back into the vermiculture bin. The final sifted soil is spread out in the picture below onto a few layers of newspaper, which will help absorb a lot of the moisture over the next few days.
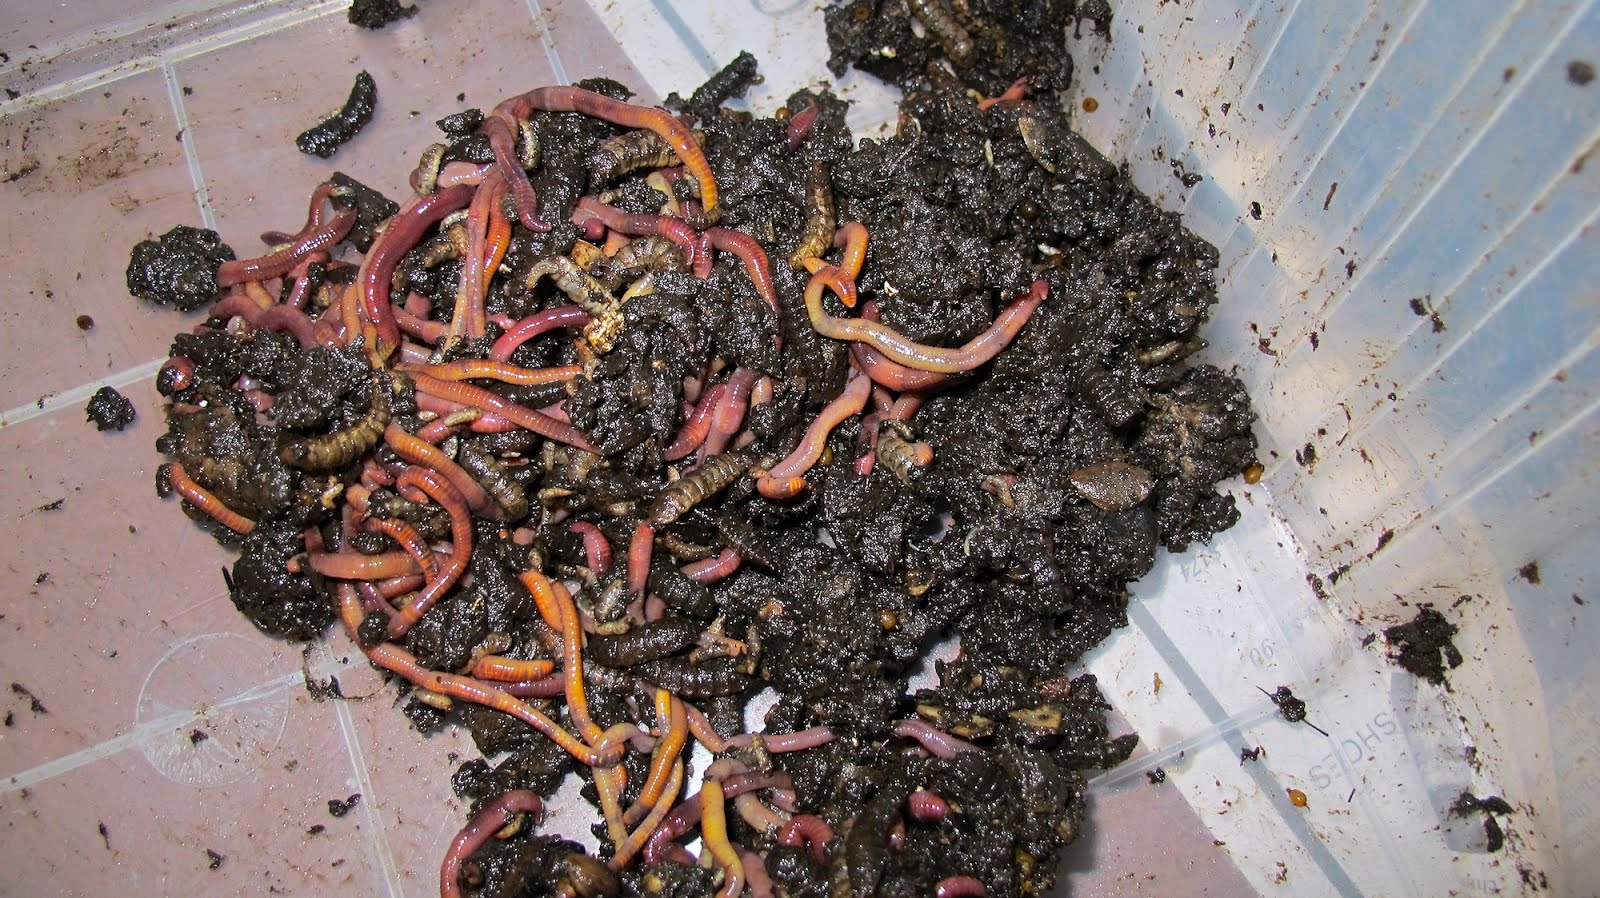
As you gradually remove soil from the transferred container, begin to move the soil into the corner of the container so that the worms can congregate into one spot. As you gradually remove soil from the tops and sides, the worms will move downward away from the light.

Once you've removed most of the soil, what will be left is a mass of red worms that you can then easily place back into the vermiculture bin. These little guys are like gold--your precious minerals that make the system work. Make sure not to lose any of them, for they are your cute little worm friends. Other things you will encounter are maggots. I know this can be a little disturbing, but they are an important part of the process, too. These guys, you do not need to keep. Leave them in the extracted soil and after a few days, once the soil is dry and crumbly, you can remove their carcasses and toss them in your flower beds. Here, lizards will love you for it, and even as you leave the soil out to dry for a few days, many little critters will come in and help you sort them out anyway. It's the circle of life.
Be sure to turn the soil every few days to help release trapped moisture. Dry soil for at least a week and place into a paper bag to give to friends. They will love you for it. This soil is very nutrient dense, so it is important to mix it with regular soil, 50/50.
Now, you can start fresh. The 30% of the soil that is left in the verminculture bin will give the red worms a place to destress and you can begin to add your food scarps on top of the soil as before. Cover with shredded newspaper to the top of the vermiculture bin and cover with the lid. Keep on keeping on.

One thing that I have noticed as I keep my vermiculture bin outside in the Miami climate is that the soil can stay rather moist. I was worried that it would be too moist for the worms, but they continued to multiply and take to the conditions very well. I decided to drill a few more holes around the bottom of the perimeter to drain out some of the excess liquid so that the soil would not be so muddy and extraction would be more in my favor. As long as your worms are happy, this is the most important part. You can also add regular soil in small quantities to help aid the system.
Even though much of this is trial and error, the longer you do it, the more you realize that the system is very self-sustaining. As long as you give them good things to eat every so often--I do this every 1-2 weeks. There are many resources to refer to for a good beginning to a healthy vermiculture, including here.
No comments:
Post a Comment